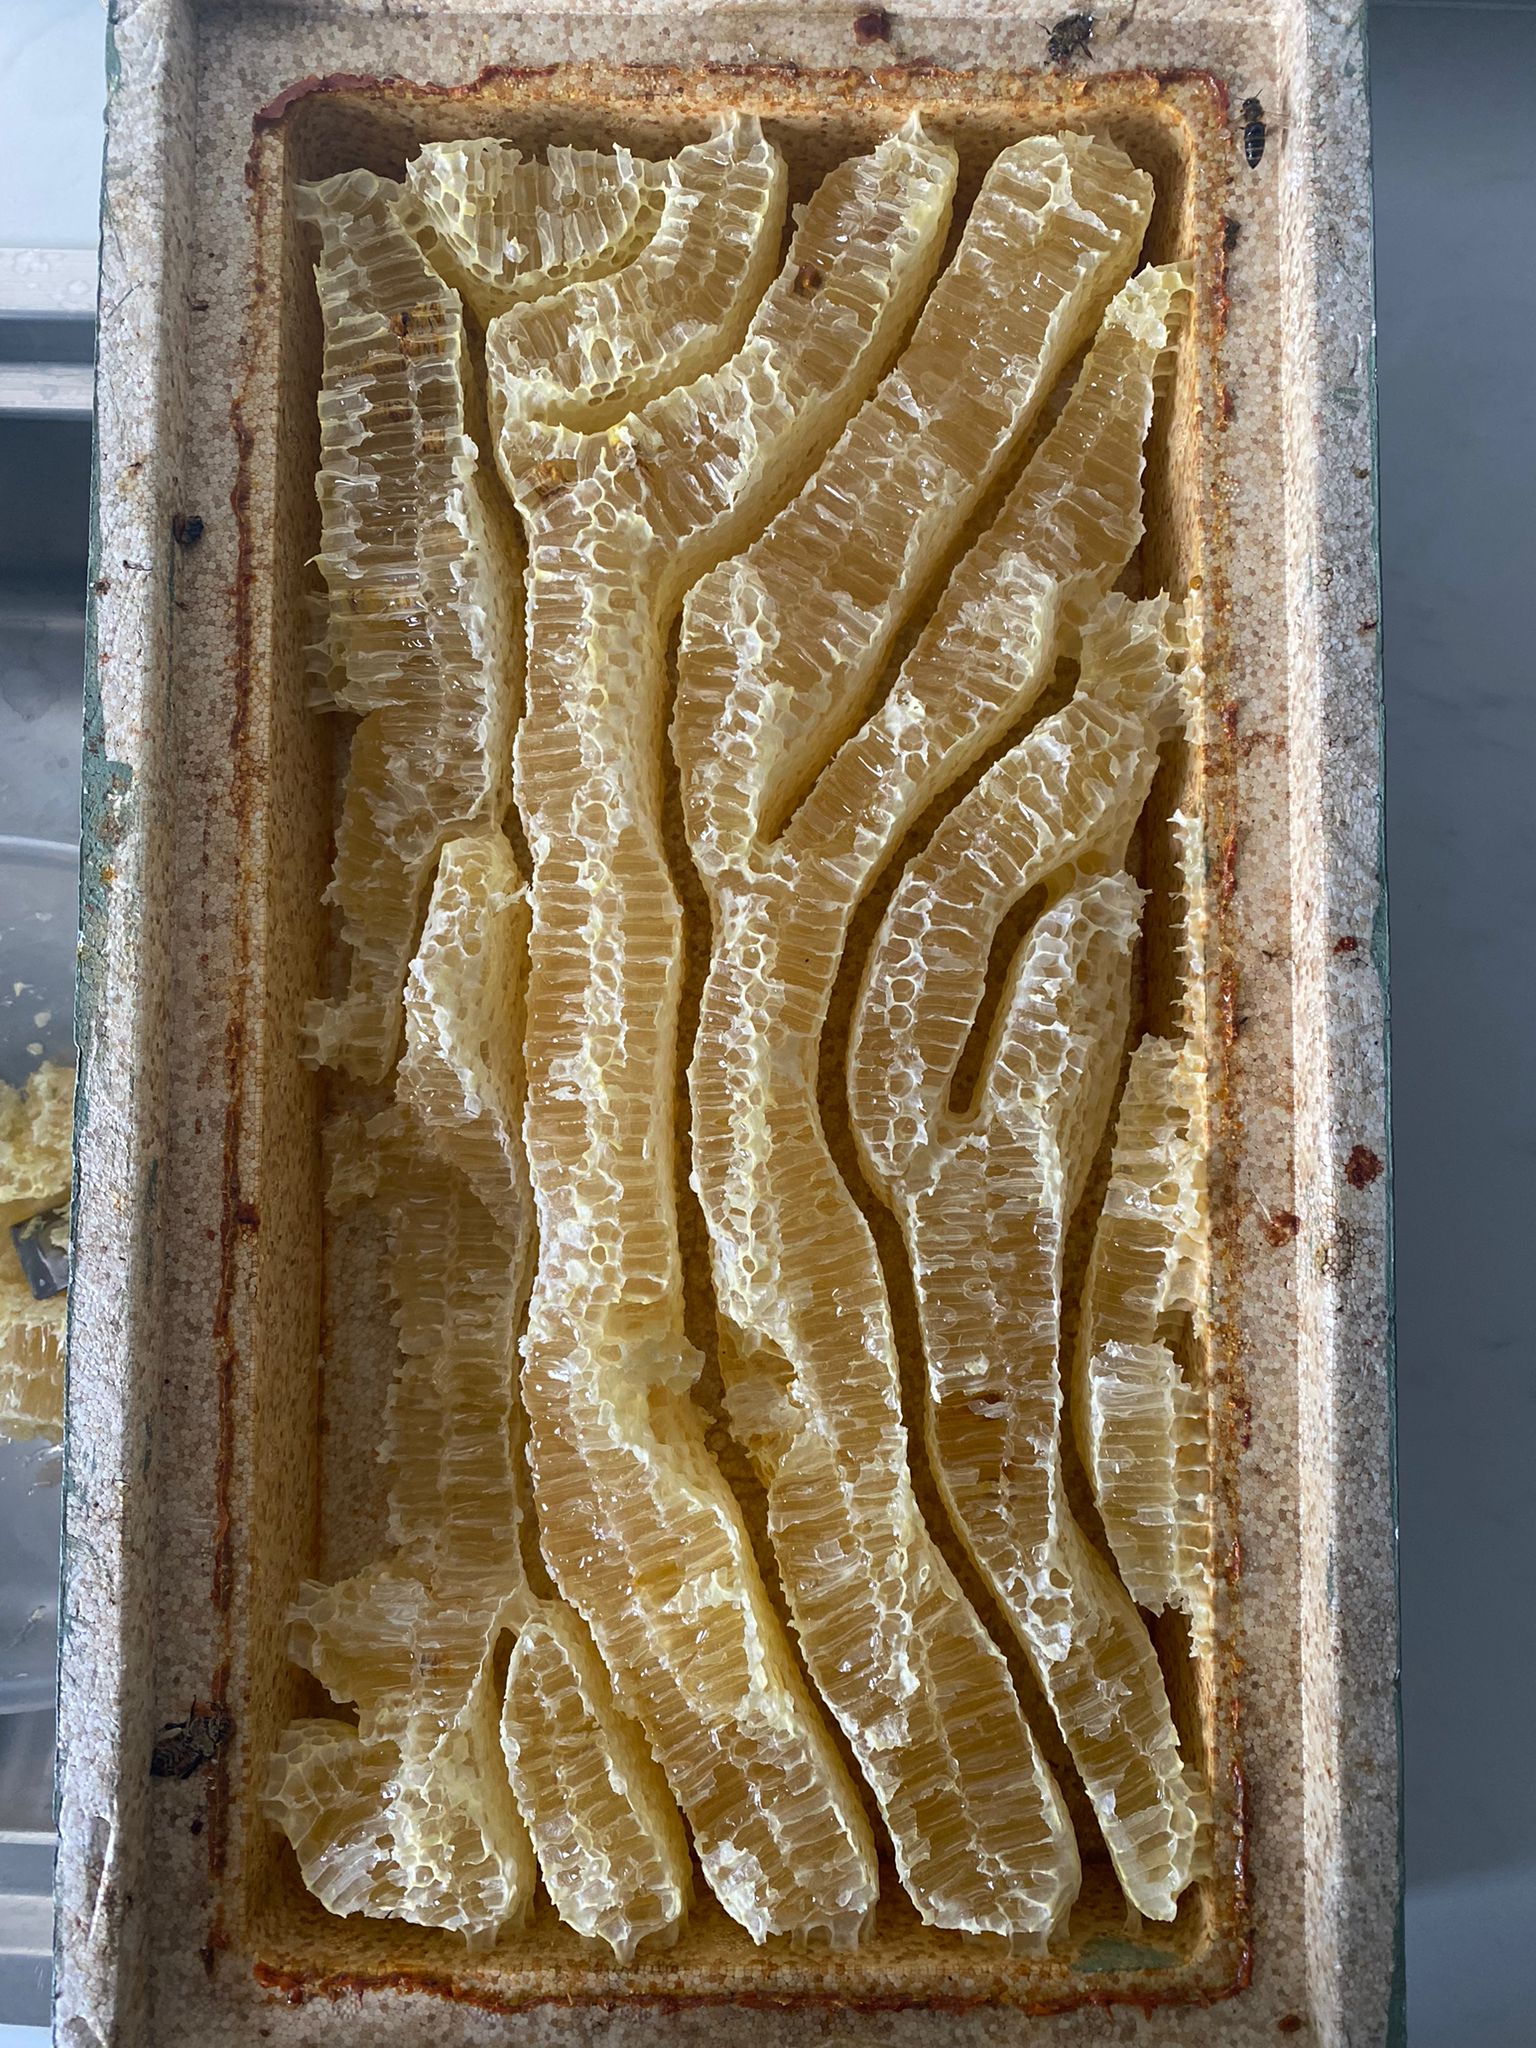
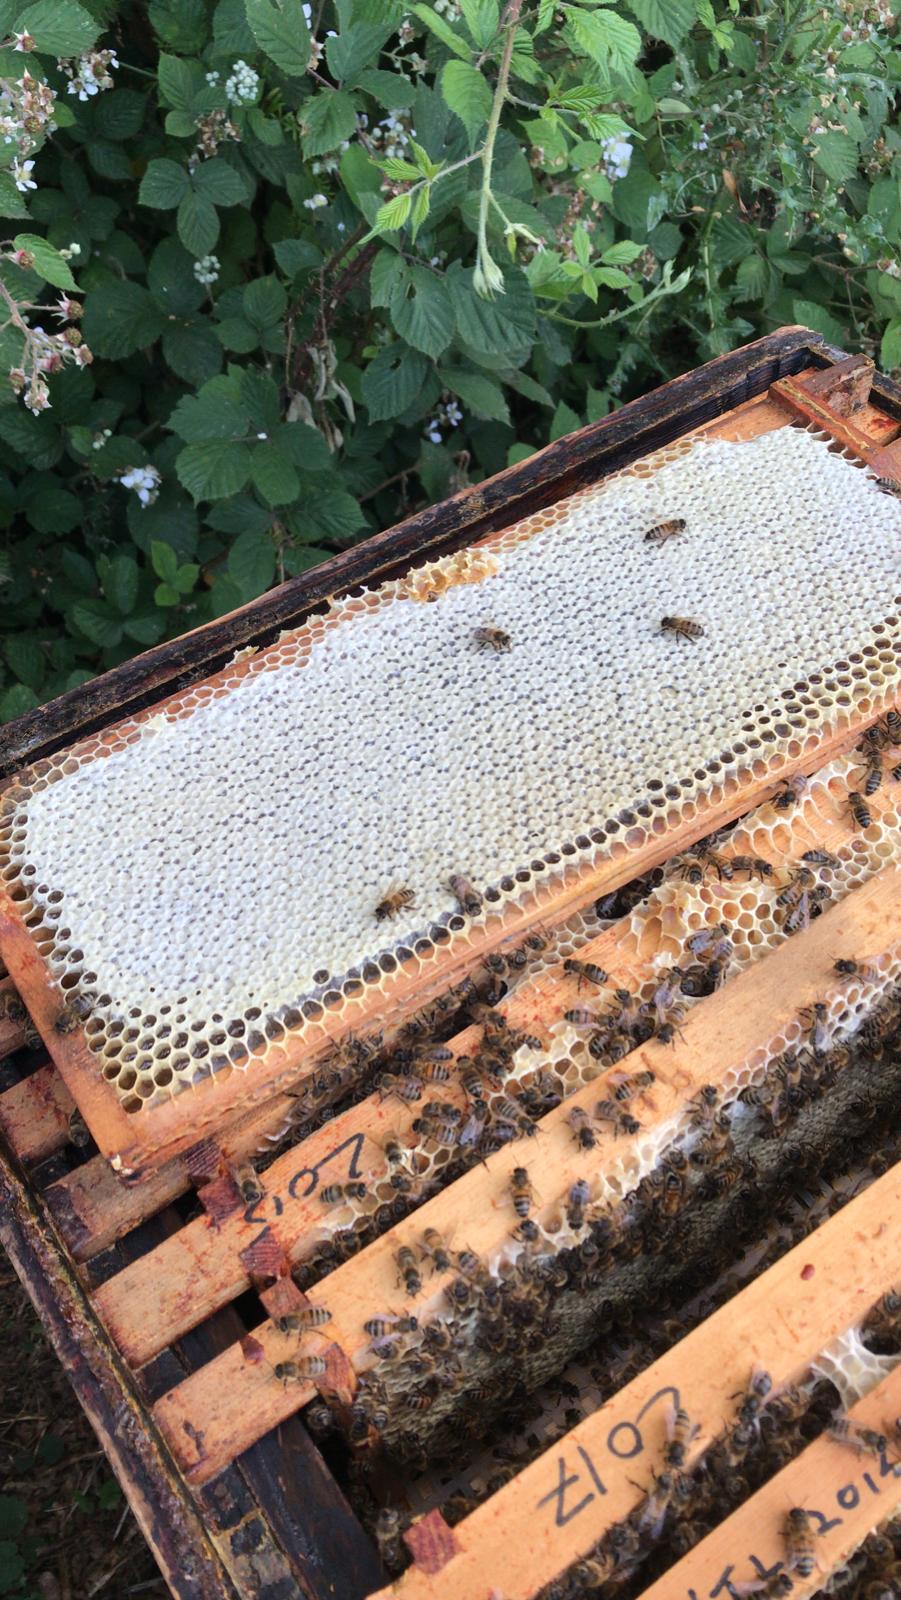
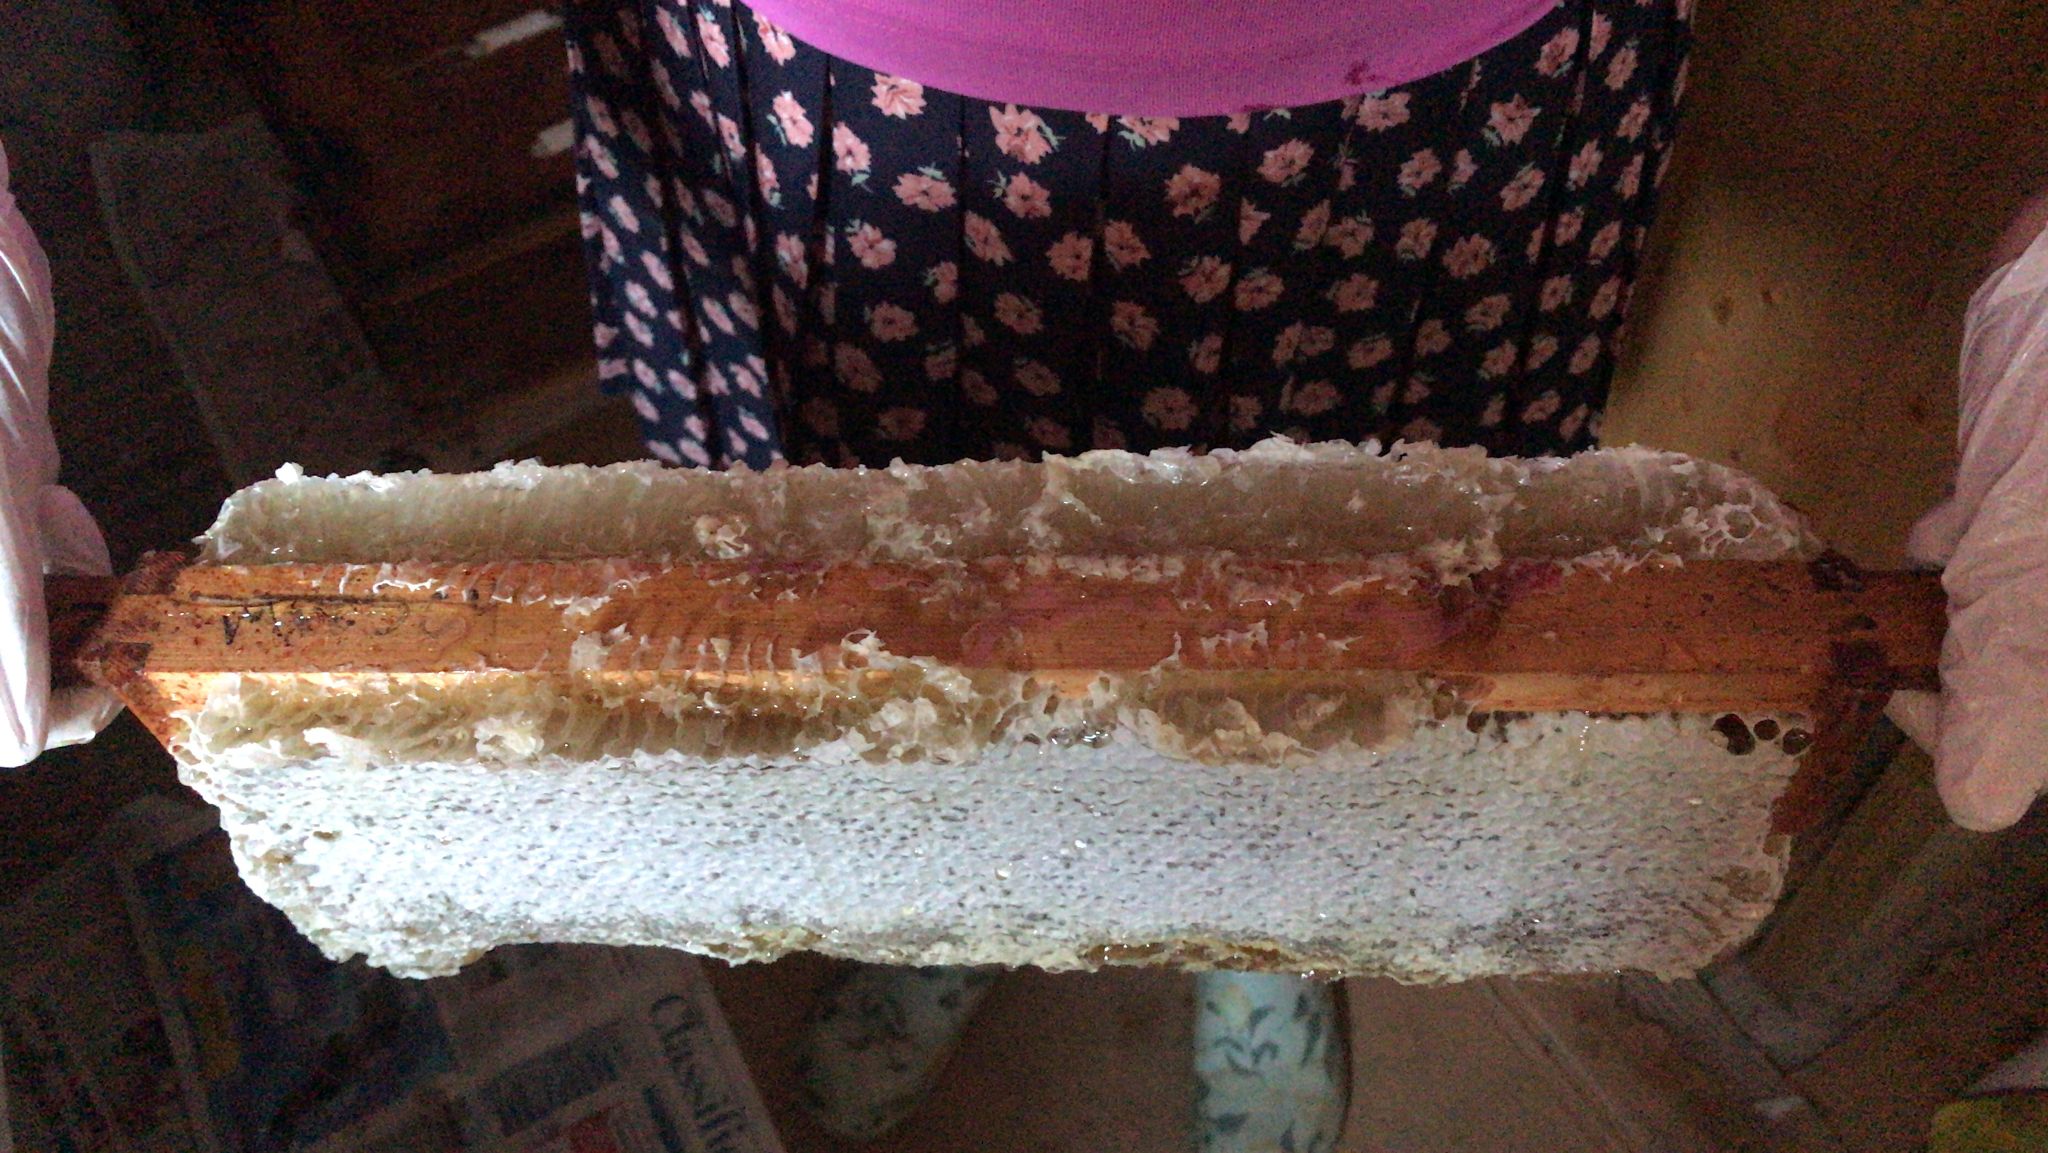
Malcolm’s Topical Tips

I have done some videos to explain the next stages of the Queen rearing process. There were 8 Queen cells and I managed to harvest 7 of them. Ideally, I would have liked the cells to have been riper and going brown at the tips. Bees raising Queen cells in a large box start them at different times so these Queen cells will all be at different stages of their development.

With the second round of Queen rearing the Queen cells should all be roughly about the same age as the bees in this hive will have no other choice but to make Queens on the frame of brood taken from the hive next door. As the frame of brood and eggs was placed in this big colony on the 10th of May the Queen cells should be hatching on the 21st if 2-day old larvae were used by the bees to make Queens. These Queen cells will be going brown at the tip if about to hatch. Any that are not like this will probably hatch two or three days later as the bees will have started them on larvae that hatched a day or two after the frame of brood was placed in the hive.

As I say on the videos I would not attempt this whole process, which is quite invasive, unless I had help at this stage with the harvesting of Queen cells. There is quite a bit of skill in loading up the apidea mating hives correctly and I have chosen to do this on the same day as the harvesting of Queen cells ; mainly because I have an out apiary and it is easier to do everything at the same time.

So, the process starts with the apidea mating hives. If you are interested only in the Queen rearing process you can skip this section but it is all part of the process and unless you can use these mini mating hives correctly, it will be difficult to get a mated Queen.

Cut up foundation and add strips to the frames in the mating hive. I use wax from a beeswax candle to secure the strip to the plastic frame. Place fondant in the feeder of the mating hive. Make sure the hole for the introduction of the Queen cell is aligned with the frames so you can actually introduce your Queen cell. Once you have harvested your bees and then want to introduce your Queen cell it won’t be possible to dismantle the apidea with bees inside in order to readjust the frames.

Photo 1:              Frames incorrectly aligned for the introduction of a Queen cell

Photo 2:              Frames correctly aligned for the introduction of a Queen cell.

Photo 3:              A makeshift repair on an apidea so a flap covers the hole - this prevents the bees climbing out while you are trying to introduce your Queen cell.

Photo 4:              as above

Photo 5:              The front door closed. If you try and harvest young bees and the door is open, they just walk out!

Photo 6:              The front door open. It would be a mistake to leave this open when loading up the apidea

Photo 7:              Making up the frames for the apidea

Photo 8:              as above

Photo 9:              as above

Photo 10:            as above

Photo 11:            as above

Photo 12:            as above

Photo 13:            A cheap mating hive. I have made a flap. In this photo the lid is incorrectly aligned

Photo 14:            In this photo the lid is correctly aligned

Photo 15:            Squares of tin foil cut up so a small hole is revealed - the tip of the Queen cell will protrude through this hole.

Photo 16:            as above

For harvesting young bees I use a large garden trug, a sprayer with water in it and a cup to measure out 300ml of bees. Too few bees and you are wasting your time as the virgin wont go out and mate, too many and the bees consider the mating hive too small and depart with your new virgin Queen to pastures new.

Familiarise yourself with how the apidea fits together. It is loaded up with young bees upside down and you see me doing this on the video. Choose if possible a frame of young bees which will be found on a frame of young larvae as these are the bees feeding the larvae. Be careful though as this may also be the frame where your Queen could be laying eggs. Best if at all possible to place the Queen in a clip

Photo 17:            Queen in a Queen clip

Photo 18:            Frame suitable to harvest young bees from as larvae can be seen

On the particular day these videos were taken there had been a huge nectar flow and so the young bees when shaken into the trug became covered in nectar. This actually made them easier to harvest as they could not easily fly up.

Top tips for loading up apideas

Make sure you know how to close up the floor quickly : cheap mating hives unlike apideas have floors that are more difficult to close so practise without bees first if you are using one of these

Make sure the hole in the lid aligns up properly with the alignment of the frames below

Make sure the front entrance is in the closed position

Use only fondant. You are turning this mating hive upside down and if you use syrup it will go everywhere and probably drown your bees!

Harvest young bees from a frame where you can see larvae. Young bees will live longer and they will have a Herculean task ahead of them to draw out the frames for your new virgin Queen.

Use a large garden trug and a sprayer. If the bees are slightly wet that is good as they will use that moisture to help eat the fondant. Don’t drench them however!

Once you have harvested your cupful of bees, align the mating hives up in a row near the Queen rearing colony as you will be adding cells one at a time to these mating hives.

If you are interested in the process, now look at the following videos taken by Lesley of me harvesting young bees

1 Photo:              A frame with larvae thus guaranteeing the harvesting of young bees

2 Video:               Young bees being harvested

3 Photo:              Apideas upside down ready to be loaded with young bees

4 Photo:              as above

5 Video:               Young bees being added to two apideas

6 Photo:              Queen in a Queen clip so she is not accidentally added to the apidea

7 Video:               Young bees not being used are returned to the hive

The harvesting of Queen cells

For my set up I used an empty 14x12 brood box to decant frames into as I searched for the Queen cells that the bees had made for me. I try and be as gentle as possible. I use a sharp Stanley knife to cut out the cells and I protect the cells with foil. I don’t harvest young bees from this colony as I feel the whole procedure is invasive enough for this particular colony.

Top tips for harvesting cells

  • Try and avoid long elongated Queen cells
  • Cut deep around a chosen Queen cell : you have to dig into other brood to properly harvest these emergency  cells.
  • Use smoke to clear the bees away from the cell you are working on
  • Some emergency cells can look small but they contain large Queens as the cell goes back into the frame.
  • Try and be organised and systematic. I struggle with this and you see me replace back into the hive a frame with a Queen cell which I then later have to go and pull out again.
  • Work gently and slowly
  • Have everything you need within easy reach
  • Work as a team

Now look at all the videos below.

1 Video:               Explanation of what I am going to do

2 Video:               Searching for  Queen cells by decanting the frames into another empty brood box

3 Video:               Queen cells being harvested from a frame

4 Video:               Harvesting a long thin Queen cell from the frame and a shorter one at the bottom of the frame. Foil is used to protect the cell

5 Video:               2 cells being harvested

6 Video:               A frame of brood and eggs from another colony being added. Reassembling the hive ; bees had been shaken off all the frames to ensure no Queen cells had been missed

I advise you to only attempt something so invasive to the bees if you have the help of at least one other person. The last video shows the bees all over the hive after frames have been shaken. These manipulations are not for the faint hearted. Everyone says they would like to do Queen rearing but it is an invasive process. I do it as I want several Queens from one particular colony.  My out apiary is on a ridge and windy (you can hear that) and often any new Queens don’t get well mated so I like to have options. If mated from our garden in St Leonard’s the Queens are usually gentle and prolific. There is nothing to stop you taking some of the lessons from the text and photos and videos below and harvesting a couple of Queen cells from your own hives when doing swarm control. Bees harvested from the same colony as the one from which the Queen cell comes, do not need the cell protected although using tin foil does help to easily wedge the cell into the mating hive and so I would recommend using a square of tin foil for that reason alone.

As with anything in beekeeping adapt what I have done for your own purposes. If you manage to get your head round what is required to make spare Queens, it will improve your beekeeping and understanding. And if you have raised a Queen yourself from a deliberate choice you have made, that feels good. However, once you have got your mated Queen then there is the further challenge of how to introduce her to a nucleus of bees as these small mating hives are only a staging post. They are to get a Queen mated and cannot be used to grow into a colony. My next email will look at the success of the mating hives - whether the Queen cells hatched and how successful the Queens were in getting mated.

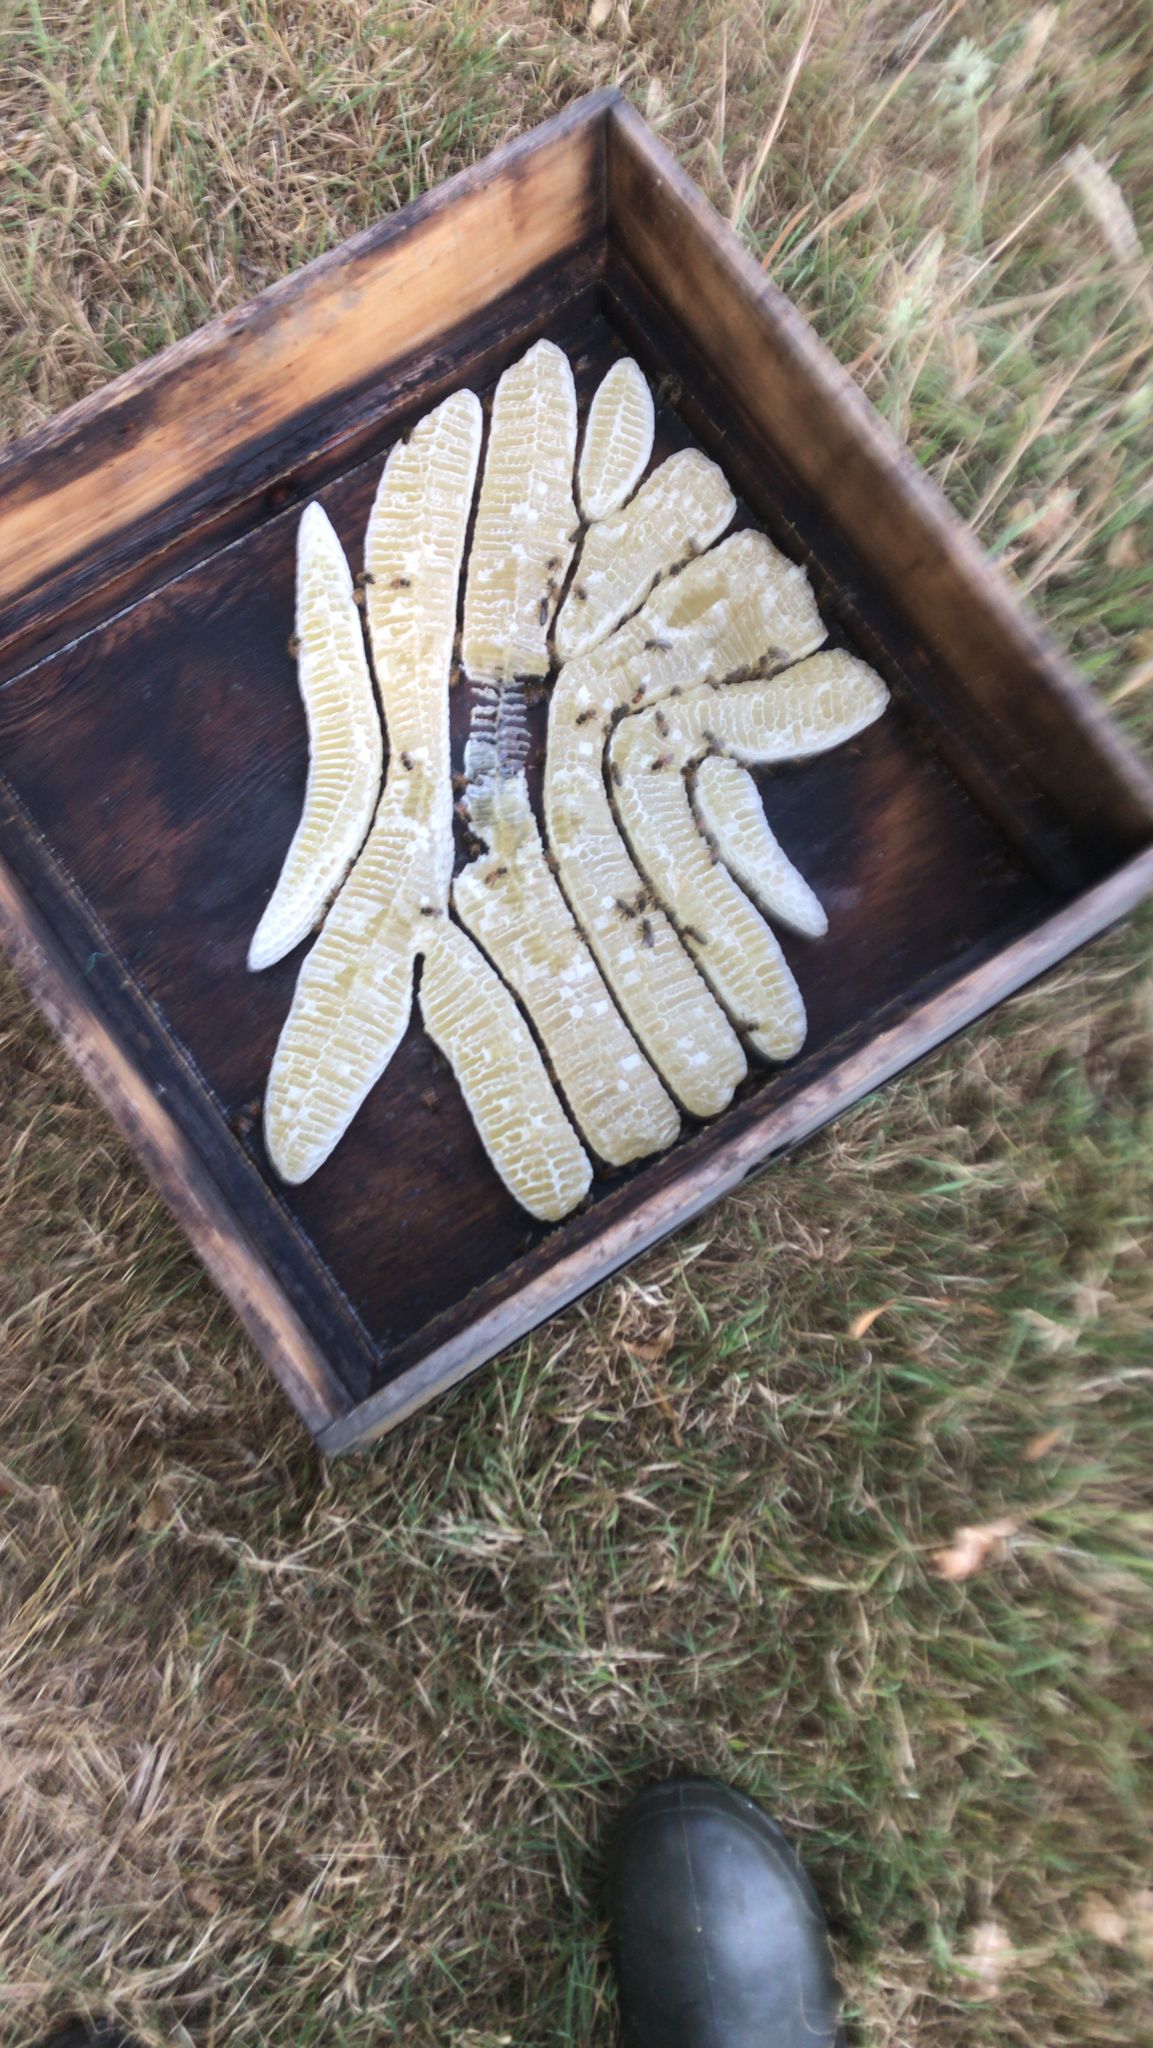
For those interested in raising queens this is how I do it. Helen Hadley taught me, and I have read a lot of books. However, this is what works for me.

I am on 14*12 brood boxes. I build up a colony I like by adding a second brood box. I lift a frame of brood and stores into the top brood box and add a piece of foundation and a dummy board to help prevent the brood getting chilled. I place foundation below into the brood nest to make up for the frames I have lifted into the top box. The bees quickly draw out the frames of foundation particularly in the top box as there is heat rising from the brood in the bottom box. The next week I start adding frames of foundation to the top box. I may raise another frame of brood to encourage expansion. This process goes on for several weeks until I have two 14*12 brood boxes rammed with bees. I often have to give them a super as well to give them space.

Then when I feel it is the right moment, I find the queen and place her in a clip. I raise into the top box as much brood as I can and make sure there are eggs on which emergency queen cells can be made. Important that there are stores and,  if possible, a pollen bank.

I then turn the bottom brood box and entrance 180 degrees, so the entrance faces the woodland edge which all my hives back onto. I add a solid crown board. I add an eke with the entrance facing outwards in the same direction as the original entrance. I place an inspection board over where the original entrance would have been in order to prevent the bees going underneath the box. This encourages them to walk up and find the new top entrance. If I have a super I remove the queen excluder to encourage all these bees to collect me Spring honey.

After three days I go back and remove any sealed queen cell as it will probably have been made from a three-day old larva. I add a pollen pattie as shown me by Helen or any extra fondant/ food I have got. If there are cells in places too difficult to be harvested, I may remove them.

After 9 days (possibly 10 days) I go back and harvest cells.  My calculation is that there will be queens made from two-day old larvae. In a queenless box two-day old larvae are converted into emergency queens and sealed three days later. Then in 8 days’ time those cells will hatch. If I go in on day 9 then the queen cells will be ready to harvest and will no doubt hatch two or three days later.

This year I may harvest them all and put them in apideas. I will then do a second round of queen rearing using eggs from another hive or a frame of eggs taken from the queen in the bottom box. This will also mean these bees collect me more honey.

Once this second round of queen cells is complete, I will divide up the hive and make up nucs which will be taken to another apiary for the queens to get mated. One of these nucs will be used to requeen the original colony as the original queen will have produced a lot of brood and won’t make a strong colony going into winter.

Watch these videos. I have tried to be clear, but the process is complex, and I forget to mention certain things. However perhaps with the above written explanation plus the long videos showing the set up you will be able to work out how it is done.

Most of the queen cells from the first round I intend to harvest and put in apideas. Those from the second round will be used to make up nucs or add again to any apideas that destroyed the queen cell they were given.

I’ll let you know how I get on.

Malcolm Wilkie – May 2024

Living with a perfectionist is not easy at times but when entering the National Honey Show it is a distinct advantage.

Over the past few years Lesley and I have entered our honey into the Sussex classes at the National Honey Show. Our attitudes to entering are a little different. I am just pleased if I have something acceptable to enter whereas she studiously reads up online exactly what she needs to do to satisfy the judge.

This difference was highlighted this year in the wax block we both made. I mistakenly thought the quantity of wax would impress the judges and made a 1 kilo block (only a 1lb block was required). I used some brood frame wax and passed it twice through some old t-shirts in order to clean it up. I thought the wax looked good but despite all my efforts to clean it up there was one of my eyelashes on the surface of the block and an evident black speck on the rim. Lesley polished it for me with some silk and I felt pleased. The wax Les chose to use was more yellow in colour and I cleaned it up for her : twice through an old t-shirt. She poured her block and it was evident it was not clean enough. So once again I melted her block and passed it through another piece of t-shirt. Is this really necessary, I thought?

On a trip to Eastbourne she purchased a metal pie dish and used this for her mould. The wax was cleaner this time but despite having used washing up liquid to grease the dish the surface was mottled and the wax did not come cleanly out of the mould. I was all for entering it anyway but Les is determined and does not give up. The next attempt was a Pyrex bowl. A bit better but the surface was a dull matt and the wax stuck to the mould. The fourth attempt was on the Tuesday night. And I was taking the exhibits up the following day! Before pouring the wax this time Les placed her Pyrex dish in hot water and then poured the wax. The next morning we placed the bowl in water, hoping the wax would float out. It didn’t! So Les gave it the ice treatment. Presumably this shrinks the wax away from the sides of the bowl. An hour later (Les was at work) I gave it an almighty thump to get it out. Nothing. Then another almighty thump. Still nothing. It came out on the fourth attempt. And the top was shiny and smooth except for a few imperfections. Hallelujah, I thought. I dried off the wax and gave it the silk treatment.

Rob Gore also enters and he and I were whatsapping each other about our relative progress on the wretched wax block. On Tuesday his was looking worse than ours ( that’s good I thought). He was evidently going right up to the wire as he was still cleaning up the wax in the small hours of Thursday morning. By then my entries had already been delivered to Sandown.

In the event he was unable to enter his block as it resolutely refused to come out of his mould in the early hours of Thursday morning. We had a good laugh about that. In fact he did take it up to the show on Thursday morning still in the mould in the forlorn hope that it might release on the way up. It didn’t!  During the heat of the day, however, it fell out of the mould in the car! But too late to enter the block! Rob, it’s all about the wax block!

There is a friendly rivalry between Rob, Les and myself. Rob got the top cup (the Lady Denman cup) last year as he gained the most points for his entries ( and he entered loads of classes including all the wax classes) so we weren’t going to get caught out this year. Both Les and I entered everything we could. I had even bought a display case so at least one of us could enter a whole super frame. I had stupidly extracted all my frames so I entered her Manley frame (believing however that it would not be judged as the rules stated it needs to be a wired frame). This was a last-minute decision as I had to collect the display case from the glaziers at 9am on Wednesday morning before setting off for Sandown. In the end Les got a second for her unwired Manly frame and 5 points, which was crucial.

If you have not made soft set honey before, it’s quite easy. We had kept some rape honey from the Spring with a fine granulation. We each chose the strongest tasting honeys we had and gently heated these in the warming cabinet to dissolve all sugar crystals. Then two days later gently heated the rape honey for a couple of hours and mixed the two together. The honey that you are going to make into soft set needs to be room temperature as it is important the rape is not dissolved as you mix the two. Too hot and the crystals you want will be dissolved, too cold and the two honeys won’t mix together very well and you may risk frosting as the honey granulates unevenly. You want the crystals of your entry to be the size of the rape crystals thereby guaranteeing a smooth texture on the tongue. The honey once combined went into plastic boxes with ice blocks as granulation takes place most rapidly at about 14 degrees. These were repeatedly renewed and it was touch and go whether the honey would set properly as October temperatures were way above the norm. The warming cabinet was used for this as it helps keep the honey cool once the cabinet is switched off.  In the event both honeys did set but Les’s was firmer and she got a second in the Sussex soft set class behind Rob. Rob had made his a few weeks previously so it was perfect and when he let us taste it after the show we could see why he had been given the first. It’s great when members of the same association go up as at the end you can taste each other’s award-winning honeys and compare notes.

Deborah Park joined us this year and entered loads. She discovered how precise you need to be in presenting the honey and had a good half hour discussion with Hazel Blackburn, one of the main judges at the show. You have to fulfill the criteria set otherwise the jar just won’t be opened! Rob, who got the top cup in Sussex last year for the most points in the Sussex classes had clocked up those points without winning a first in any class. He was able therefore to enter the Berry cup this year and robbed (no pun intended) Deborah of that particular glory. She came a well-deserved second.

In the end due to the wretched wax block Lesley got 29 points and Rob only 27 points. How different that could well have been. I myself had only a dismal twelve points well behind Phil Edwards. Becky Champion (some may have taken the basic with her),  however, deprived Phil of getting the third cup, the Lady Matthews cup. If he had just had a few more points for the honey he entered he would have pipped her at the post. She is a seasoned competitor who only entered four classes but got a first for each entry. She therefore achieved 24 points and the third cup. He did however get the PJ cup for his mead : he is an excellent mead maker.

What were the highlights for me? Jo Gore’s honey sponge was just amazing. This got a first in an open class which is no mean achievement. Rob entered a photo of a crowd of honeybees on a Passion flower. This also was an open class and he too got a first prize. It’s an amazing photo. And finally, I too managed a first in class 5 which is an open class. Achieving a first against 30 other entries is no mean feat. However, although the honey was lovely and gleamed, it did smell of old socks to my mind. There is no accounting for a judge’s taste! In her comments she even said the honey had a pleasant aroma - not sure about that!

Now we have our honey show on the 27th of November. Surely everybody you have got some honey this year? Enter it. In the end it’s not you being judged but your bees. I look forward to seeing you all and comparing notes. The different honeys that turn up from members of the High Weald never cease to amaze me. Come to the show and showcase the effort your bees have made for you this year. It’s the least you can do to show your appreciation to the bees for what they have done. Look forward to seeing as many of you there as possible.

Malcolm Wilkie – 6th November 2022

Yet again this season has turned out to be like no other. As the bees were in condition I got a good spring honey crop, but what is so amazing is that they have continued to collect copious amounts of nectar even though the temperatures have been high and the soil dry. In the 14 years that I have been beekeeping I have never seen such a sustained and lengthy nectar flow. I do not really understand where the bees are going to collect such copious amounts of nectar, do you?

The problem for me is that I have just run out of equipment. I don’t have any supers left, I don’t have any super frames left and I certainly don’t have any wax foundation. In fact, I have been building foundationless frames and placing these between drawn out frames both in the brood boxes and the supers. This has worked fine but even though I am doing this brood boxes are nectar bound and the bees continually start to build comb above the crown board. Lesley has gable roofs and yesterday the bees had built comb up from the crown board right into the apex of the roof. As I refuse to spend any more on equipment I am left with no choice but to continue to extract as frequently as I can. The buckets are just stacking up! And I am exhausted!

Girls, Girls, Girls enough is enough : I Don’t Want any more honey!

In a usual year I am struggling to get the bees to cap the honey. However, this year I have whole supers where every single frame has been capped, even the outside frames which normally have very little honey or nectar in them. The bees are also drawing out further any super frames where I have left them space and some of those super frames are extremely heavy. In desperation I put some old stale wax and old frames on top of a colony - even that they have drawn out.

Helen suggested that I go and talk to the bees and ask them to take a holiday. I have done so. But you know what? They just seem to have ignored my suggestion and they are just continuing to collect. Hardly surprising as this is what bees are programmed to do when the conditions are right!

What are the consequences of all this? Well, if you don’t give the bees enough space and the brood box becomes nectar bound, eventually the cramped conditions will lead to them wanting to swarm again. Of course, we are not in prime swarming season but if there really is no space for them, bees may well swarm again. The other more concerning consequence of a brood box being nectar bound is that there won’t be enough space for the Queen to lay. August is a time when winter bees are being raised and if not enough winter bees are being raised then a colony could collapse later in the year because there are just not enough of the type of bee that will survive for five months and ensure the future survival of your colony next year. All very well to have thousands of summer bees (which live for only six weeks) but that counts for nothing unless you have a good number of winter bees with all those extra fat bodies and the capability of living for up to five months. Those are the bees (and they are physiologically different) that will be able to kick start the birth of a new generation next March.

My concern is that I still have a lot of supers on the hives. Once again, I have bought Apivar as my autumn treatment and I am conscious that that needs to go into the brood boxes soon. However, most of the colonies are extremely large and they are filling two or three supers and it is just not realistic for me to cramp them into a 14*12 brood box at the moment. I suspect that what I might do is pile up supers on certain hives so that I can treat those colonies that I really do want to survive this winter (those colonies headed by my most gentle and prolific queens). The remainder will probably have to be treated late August or early September. The one plus about Apivar is that it is not temperature dependent, unlike Apiguard or Api Life Var, so using it in September will kill the mites: I will just have to hope that enough winter bees will be being raised in September while my treatment is in place (ensuring healthy bees that are not infected with viruses ) to carry the colony through to next Spring. As I have said before nothing is straightforward in beekeeping.

So, what advice do I give you all?

Think about autumn treatments. Check the natural mite drop on your hives. Gauge when you are able to take supers away. Monitor the flow, just in case this incredible nectar flow suddenly dries up – after all there hasn’t been rain in certain parts for a very long time. Look closely for deformed wing virus as this is a sure indication that varroa really has taken hold. Observe the area around your hives and look out for crawlers. Perfect looking bees but bees that are unable to fly - that too is an indication that viruses are taking hold. Be aware that decisions you make now have a bearing on your colony’s survival. This is something that is so hard to explain to beginners, particularly when a colony at the moment seems so large and prosperous. But those of us who have been beekeeping for a very long time know that is no guarantee that the colony survives the winter. And in fact, large colonies may well have large numbers of varroa mites, which can put them particularly at risk if an Autumn treatment is not done.

Enjoy this exceptional year but be aware all this honey causes its own headache and management problems.

The positive is you will all have honey to enter into our honey show in November, won’t you?


Wild comb in the roof of a hive


One of the beginners nucs


Capped honey


Some massive super frames

Be careful not to leave wet super frames in a garage. This Video was in 2019. I wasn’t proud of myself!
Wasps not bees in this case

Remember - Enter into our honey show in November.

Malcolm Wilkie – 2nd August 2022

“Honey galore in sunny St Leonards” - by Malcolm Wilkie

Once again this season has been like no other. A very mild wet winter has meant that the bees have started building up really early and collecting a lot of nectar from spring flowers and trees : although we have had little rain so far the ground itself was moist and trees with their deep roots have been able to express nectar in great quantity.

The month of April was very kind from the point of view of the weather and so it is perhaps unsurprising that large colonies have wanted to swarm early. A few years ago the main swarming season was towards the end of May but this certainly hasn’t been the case this year for my bees.

My problem is that colonies on which I did swarm control by taking the Queen out on the nucleus have now built up to such an extent that they themselves also now need a super. Lesley and I now have 22 units between us, and those numbers seem to be mushrooming! As soon as the sun comes out Les’s garden hums so loudly that one thinks there must be a swarm somewhere. As our neighbour said when he looked over the fence the other day, the activity of your bees is rather like the M25 as there seems to be so much traffic.

Perhaps unsurprisingly I have run out of supers and a lot of the supers that I have on hives are so full of honey that the bees have nowhere to place the ingress of nectar. So I urgently need to do a honey extraction in order to create some space, because my concern is that new Queens will have nowhere to lay in the brood box and so that will trigger another round of swarming and of course that is what I want to avoid at all costs.

All of us as beekeepers need to keep an eagle eye on the weather. We have now just had a good dump of rain, and more is expected next week. The consequence of that, given the elevated temperatures, is that we will have the most humongous nectar flow and brood boxes will become honey bound if we are not careful. So if your bees are in condition, add supers and think about removing frames of stores from the brood box and replacing them with foundation. This will keep the bees busy and create space for a new queen to start her brood nest.

Below are some pictures of Lesley’s garden. The supers are so heavy that it is difficult to lift them off the hive. We don’t think there is rape in the vicinity this year. However in my out apiary that may not be the case and if I am unlucky when I can do an extraction (which is not until next week) the honey may have granulated to such an extent that I won’t even be able to get it out of the frames. Jo Groom avoided this problem last week because she realised that the honey was granulating before her eyes. That’s the difficulty with rape honey because it will set overnight if you’re not careful. So it needs to be put into jars at the same time as you are extracting if at all possible. Otherwise you’re going to have to use a warming cabinet. At least (because she is on the ball) she has extracted the ripe honey from her frames and they can now be used again. If I am unlucky and the honey in my out apiary has set rock-hard in the frames I will not be able to extract it and all that drawn wax will be wasted!

Lesley and I have never had a spring crop like this one before. Honey galore! As long as I can actually get it out of the frames!

  • Video - Nuc boxes in a row as part of swarm control. This is only a part of the garden!
  • Image-1 - Swarm control!
  • Image-2 - The top part of the garden.
  • Image-3 - The bottom part of the garden.

Despite the number of hives, the bees let us mow and strim in the garden without bothering us. Some of those bees are from last year’s calm queen project.

Rape honey can be a blessing or a curse.

  • Image-4 - Jo Groom’s extraction from yesterday. Definitely rape - it granulates before your eyes.
  • Image-5 - Jo’s honey granulating as she is bottling up. It will be set within 12 hours.

Malcolm Wilkie (training officer) – 20th May 2022